
TEXT2SLIDE
텍스트파일을 읽어서 자동으로 한 문장씩 슬라이드쇼로 만들어 줍니다.
Convert a plain text file into a PowerPoint slide.
that is, convert each line to a slide


Generate 버튼
텍스트파일 선택창이 열리면 문장이 들어있는 텍스트파일을 선택합니다. 그러면 문장단위로 슬라이드쇼를 자동으로 생성합니다.
현재 문장 제한 갯수는 없습니다.
아래 첨부한 샘플 텍스트(text2sample.txt)를 이용해보세요. 100가지 영어 속담들입니다.
텍스트파일 속 <엔터>가 기준이 되어 슬라이드가 생성됩니다.
생성된 슬라이드의 텍스트글자 색깔은 랜덤으로 바뀌어 생성됩니다.
Revert 버튼
슬라이드 1 다음에 생성된 슬라이드들을 모두 지우고 원래대로 돌아갑니다.
파워포인트 2010에서 제작되었습니다. 매크로 사용을 허용해주셔야 합니다.
허접한 코드이지만 저작권은 저에게 있습니다.
Copyright ⓒ konahn
소스보기
'Const MAX = 100
Const DEFAULT_SLIDE = 1 ' the slide to copy the layout style from
Const MARGIN = 50 ' margin of the generated textbox
Sub generate()
Dim txtFile As String ' text file name
Dim fileNo As Integer ' file handle
Dim buffer As String ' temporary string buffer
Dim sentence() As String ' the main array to save sentences
Dim i, total As Integer
Dim myLayout As CustomLayout
Dim mySlide As Slide
Dim myShape As Shape
Dim myWidth, myHeight As Integer 'slide width and height
'txtFile = "text2sample.txt"
Dim fd As FileDialog
Set fd = Application.FileDialog(msoFileDialogFilePicker)
With fd
.Filters.Clear
.Filters.Add "Word text file", "*.txt"
.InitialFileName = ActivePresentation.Path & "\" 'Environ("USERPROFILE") & "\Desktop\"
.AllowMultiSelect = False
If .Show = True Then txtFile = .SelectedItems(1)
End With
If Len(txtFile) = 0 Or Len(Dir$(txtFile)) = 0 Then
MsgBox txtFile & " 파일이 없습니다."
Exit Sub
End If
'Initialize array
ReDim sentence(0)
'get file handle number
fileNo = FreeFile()
Open txtFile For Input As #fileNo
i = 0
Do While Not EOF(fileNo)
Line Input #fileNo, buffer 'read & save sentences line by line
ReDim Preserve sentence(i + 1) ' increase 1 more array
sentence(i) = LTrim(RTrim(buffer))
i = i + 1
Loop
Close #fileNo
total = i
Randomize ' for random color
With ActivePresentation.PageSetup
myWidth = .SlideWidth - MARGIN 'get width and height
myHeight = .SlideHeight - MARGIN
End With
For i = 0 To total
Set myLayout = ActivePresentation.Slides(DEFAULT_SLIDE).CustomLayout
'add a slide like slide #1
Set mySlide = ActivePresentation.Slides.AddSlide(DEFAULT_SLIDE + 1 + i, myLayout)
'add a textbox with margin
Set myShape = ActivePresentation.Slides(DEFAULT_SLIDE + 1 + i).Shapes. _
AddTextbox(msoTextOrientationHorizontal, MARGIN, MARGIN, myWidth, myHeight)
With myShape
'add a sentence
.TextFrame.TextRange.Text = sentence(i)
.TextFrame.TextRange.Font.Size = 60
' color 255 is too bright. Pick a less bright color (200)
.TextFrame.TextRange.Font.Color.RGB = RGB(Int(Rnd * 200), Int(Rnd * 200), Int(Rnd * 200))
.TextFrame.TextRange.Font.Bold = msoTrue
.TextFrame.TextRange.Font.Shadow = msoTrue
' If you want to change the color of the shape
'.Fill.ForeColor.RGB = RGB(Int(Rnd * 200), Int(Rnd * 200), Int(Rnd * 200))
'.Fill.BackColor.RGB = RGB(Int(Rnd * 200), Int(Rnd * 200), Int(Rnd * 200))
'.Fill.Solid
End With
'add a textbox for slideshow progress ex) 1/100
Set myShape = ActivePresentation.Slides(DEFAULT_SLIDE + 1 + i).Shapes. _
AddTextbox(msoTextOrientationHorizontal, 0, 0, 150, 20)
With myShape
.TextFrame.TextRange.Text = "( " & i & " /" & total & " )"
.TextFrame.TextRange.Font.Size = 20
.TextFrame.TextRange.Font.Color.RGB = RGB(100, 100, 100)
End With
Next
MsgBox total & " Slides were added.", vbInformation
End Sub
'remove all the generated slides and go back to original
Sub revert()
Dim answer As Integer
Dim i, j As Integer
If ActivePresentation.Slides.Count > 1 Then
answer = MsgBox("Are you sure to delete all the slides after #1", vbOKCancel, "Confirm", "", 1000)
j = 0
If answer = vbOK Then
For i = ActivePresentation.Slides.Count To 2 Step -1
ActivePresentation.Slides(i).Delete
j = j + 1
Next
MsgBox j & " Slides were deleted!"
End If
Else
MsgBox "ERROR) Nothing to revert!" & vbCr & vbCr & "Generate a new slideshow first.", vbCritical
End If
End Sub
---------------------------------------------------------------------------------------------------------------------------
추가로 아래 첨부한 text2ppt.pptm 은 약간 다른 방식입니다.
텍스트를 불러와서 슬라이드쇼로 만든 다음, 텍스트 파일이름과 같은 새로운 PPT(.ppsx)로 저장하는 버전입니다.
pptx를 원하시면 맨 마지막 부분의 주석처리를 참고해서 ppSaveAsOpenXMLPresentation 으로 바꾸시면 됩니다.
------------------------------------------------------------------------------------------------------------------------------
조금 다른 버전입니다.

1. 보기 - 슬라이드 마스터의 첫번째 레이아웃의 Text Placeholder 1 과 2에 미리 서식(폰트, 글자크기, 색깔, 줄간격 등)을 설정해 놓으세요. 현재는 제 기준으로 수정한 상태입니다.
2. 텍스트 파일은 Ansi 인코딩이어야 합니다. (메모장에서 변경 가능)
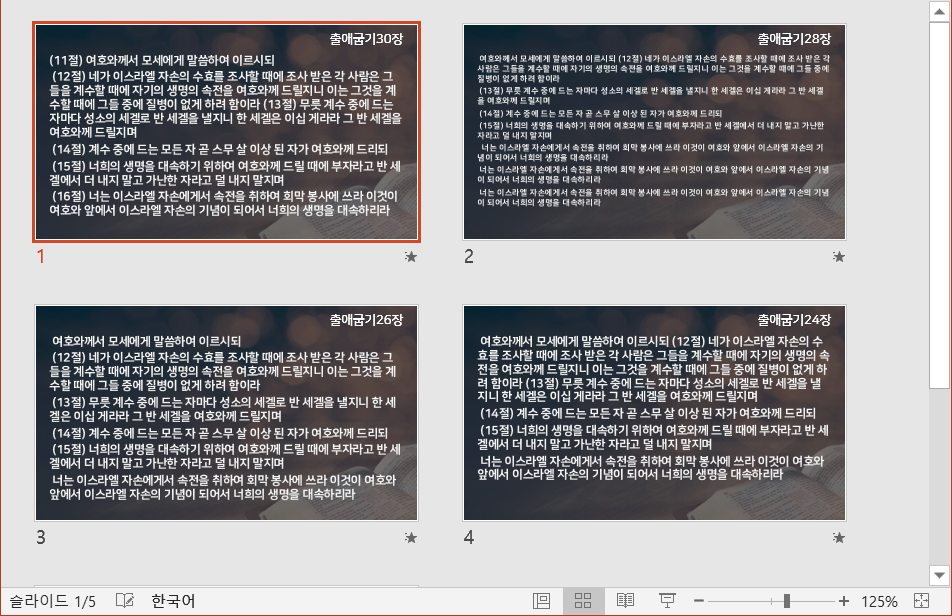
3. 텍스트파일이 "출애굽기20장//가나다라마바사/가나다라마바사/가나다라마바사" 이면
'출애굽기20장'은 우측 상단 Text Placeholder 2 에 들어갑니다.
본문의 슬래쉬(/) 와 <br> 은 엔터로 변환합니다. <tab> 은 탭키로 변환합니다.
4. 본문 내용이 슬라이드 아래로 넘치면 글자크기를 줄이도록 했습니다.
첨부 파일로 테스트해보세요.
'PPT+VBA' 카테고리의 다른 글
| 구글번역을 이용한 PPT 슬라이드 자동 번역 (14) | 2018.06.20 |
|---|---|
| 영화엔딩크레딧 효과 (0) | 2018.03.31 |
| 자동 달력 생성기 (1년치 달력 추가) (1) | 2017.01.12 |
| FileSize함수를 이용해 폴더내의 파일 목록을 표시하자 (0) | 2017.01.12 |
| 네이버 카페 최신글 가져오기(모니터링) (0) | 2017.01.12 |
| Stock Monitor 주식시세 모니터링 (0) | 2017.01.12 |
| 이진법을 이용한 숫자맞추기 마술 (4) | 2016.09.26 |
| text file 문장단위로 슬라이드 생성하기 (0) | 2016.05.20 |

최근댓글